
The Manual Sync page is titled Send to QuickBooks inside LedgerPort. It is the tool for pushing historical WooCommerce data to QuickBooks Online on demand useful for initial setup, catch-up after a missed sync, or re-pushing records after fixing a mapping issue.
Go to LedgerPort » Manual Sync to open the page.
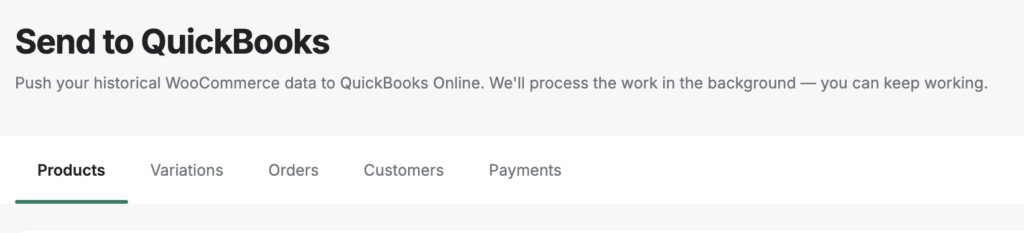
The guide walks you through all five categories, for each entity type: Products, Variations, Orders, Customers, and Payments.
How Pushing Works
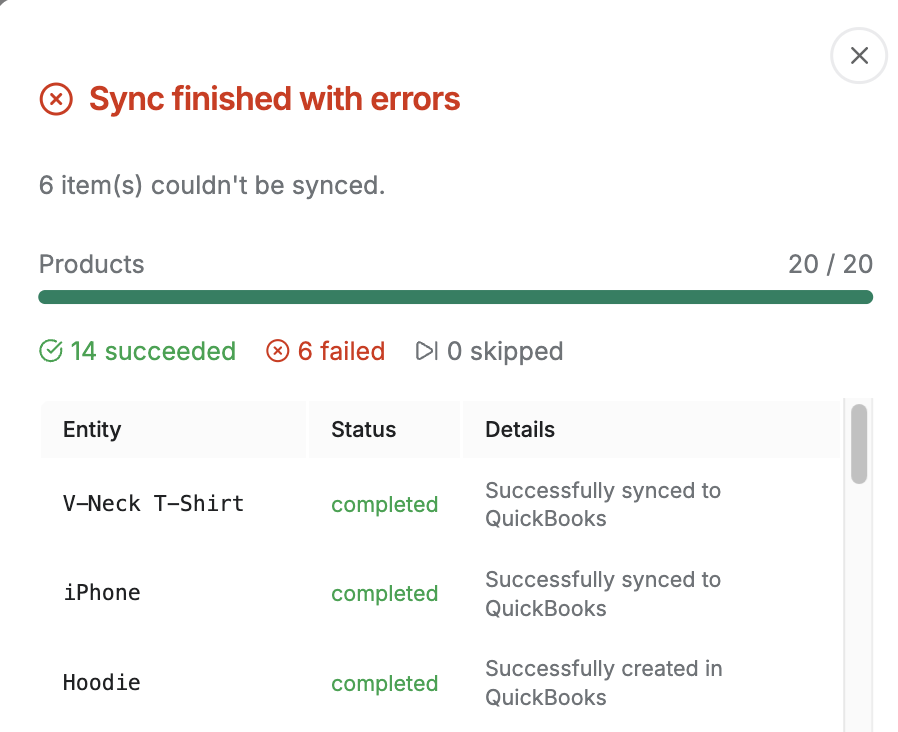
You can push all entities at once or select specific rows and push only those. After clicking Push Selected or Push All, a progress modal opens immediately. It shows the details of the order synced or not and the progress that has been made.
Sync Status Icons
Every row in every tab shows a sync status icon in the Sync column.
| Icon | Status | What it means |
|---|---|---|
| Green check | Synced | The entity has been successfully synced to QuickBooks |
| Amber clock | Pending | The entity is queued or in progress |
| Red X | Failed | The last sync attempt for this entity encountered an error |
| Gray arrow | Skipped | The entity was intentionally excluded (e.g. filtered out by Sync Config) |
| Amber pause | On Hold | The entity is on hold and will not sync until the hold is cleared |
Products Tab
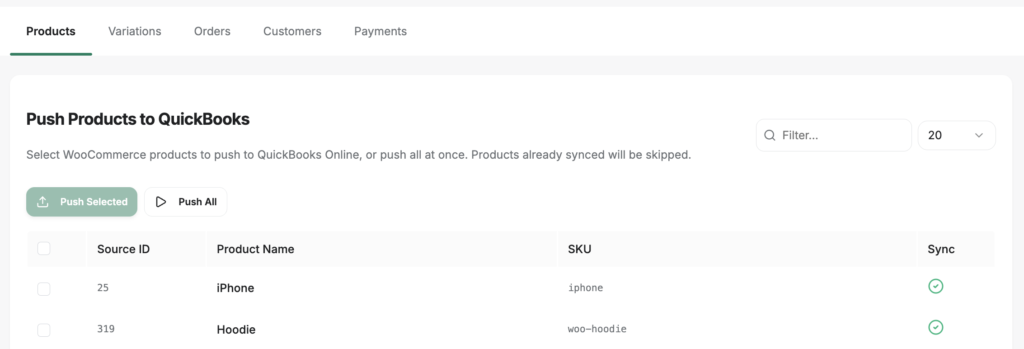
The Products table shows: Source ID, Product Name, SKU, Sync status. You can use the Filter input to search by product name or SKU. Click Push All to queue every product on the current page for a push.
Variations Tab
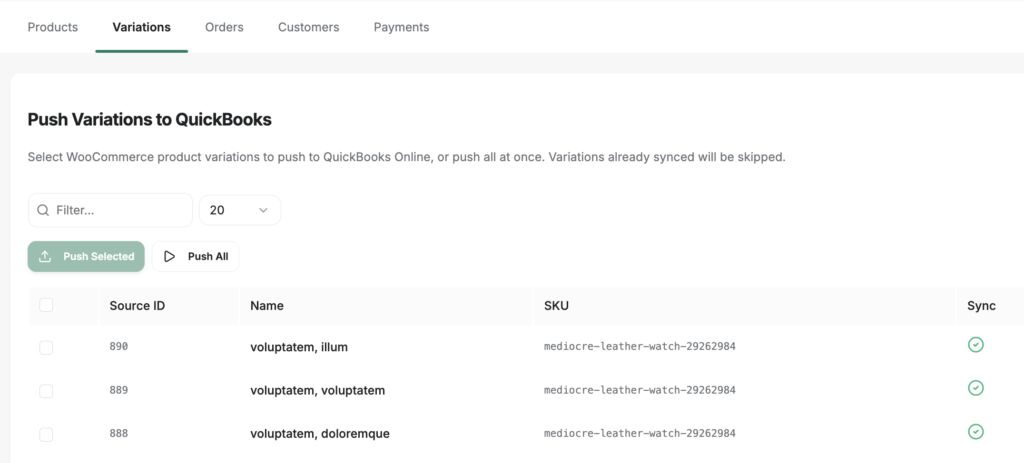
You can select the WooCommerce product variations to push to QuickBooks Online, or push all at once. Variations already synced will be skipped.
Orders Tab
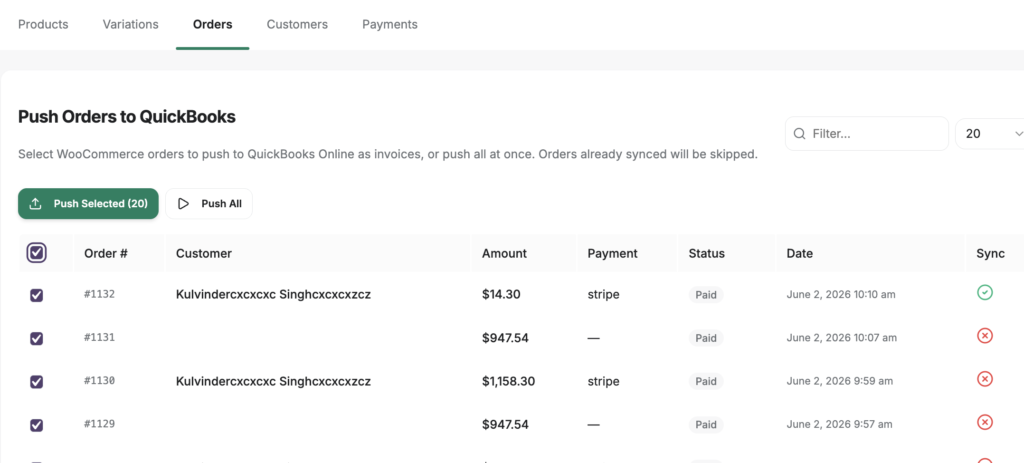
You can select WooCommerce orders to push to QuickBooks Online as invoices, or push all at once. Orders already synced will be skipped. The Sync column can be used to identify which orders in a particular status have not yet been sent to QuickBooks.
Customers Tab
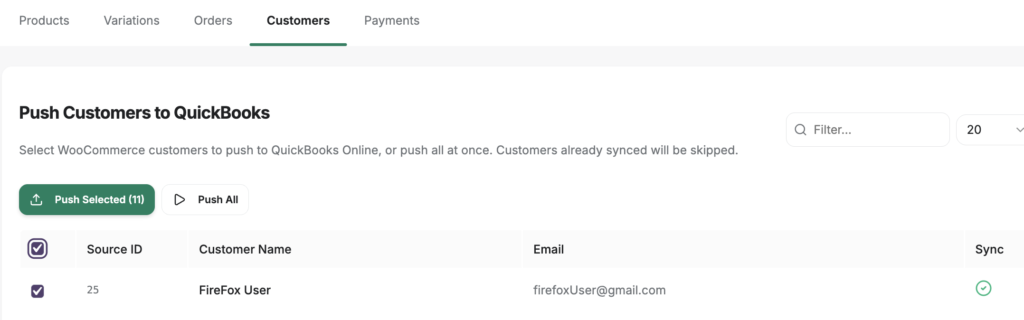
You can again sync here one customer at a time or all together with help of checkboxes.
Payments Tab
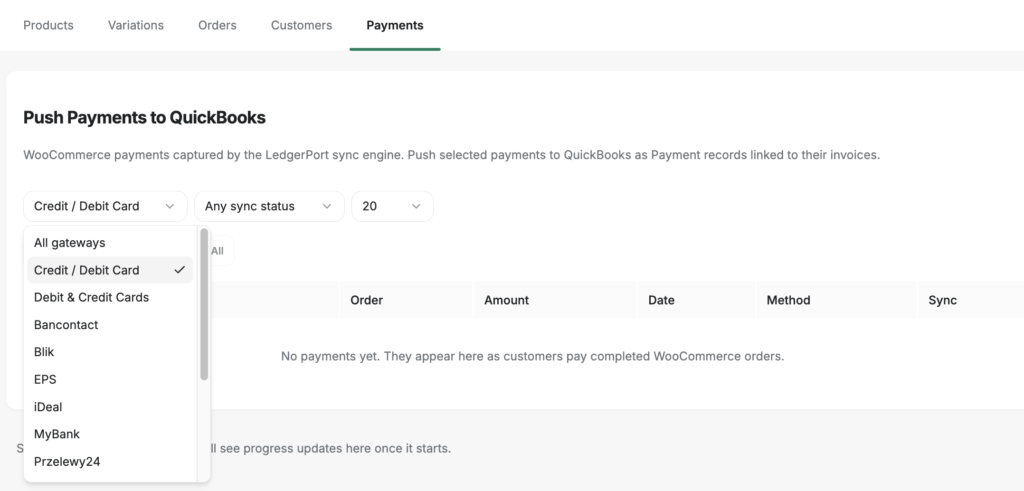
Push selected payments to QuickBooks as Payment records linked to their invoices.
The Payments tab works slightly differently from the others: Instead of a text search, it has two dropdown filters: one for payment gateway and one for sync status. This lets you quickly find, for example, all Stripe payments that have not yet been synced.
When to Use Manual Sync
Use the Manual Sync page in the following situations:
- Initial historical import – After connecting LedgerPort for the first time, use this page to push all existing WooCommerce data into QuickBooks before going live with automatic syncing.
- After fixing account mappings – If mappings were incomplete during your initial sync, fix them in LedgerPort » Mappings, then return here to re-push the affected records.
- After a missed sync – If a webhook failed and an order or product did not sync automatically, push it manually from the relevant tab.
- After fixing a sync error – Find the failed entity in the table (look for the red Failed icon in the Sync column), check the row, and push it again after resolving the underlying issue.
Frequently Asked Questions
Will pushing again create duplicates in QuickBooks? Entities that already have a Synced status will be skipped automatically. If you push a record that has a Failed status, LedgerPort will attempt to create or update it in QuickBooks rather than creating a duplicate.
What is the difference between Push Selected and Push All? Push Selected sends only the rows you have checked on the current page. Push All queues every entity visible on the current page regardless of selection. Neither button pushes across all pages at once — if your data spans multiple pages, work through each page or use the per-page selector to show more rows before pushing.
I pushed records but they are not showing in QuickBooks. What should I check? After the push modal closes, go to LedgerPort » Audit Logs and filter by the entity type and a recent date range. Look for any Failed entries and expand them to read the error message. Common causes include an unmapped product, a payment method with no configured clearing account, or a temporary QuickBooks API error.
Can I push data from here if Auto sync is turned off in Sync Config? Yes. The Manual Sync page works independently of the Auto sync setting. You can push data here even if automatic syncing is disabled.
The Push All button is greyed out. Why? Push All is disabled when there are no items on the current page (e.g. after filtering to a term that returns no results) or when a push job is already running.
If you run into any issues, please feel free to contact us by clicking here. Our support team will be able to help you.