

- 1Proč přijetí klienta Shopify trvá déle, než by mělo
- 2Fáze 1: Příprava před hovorem — 10 minut
- 3Fáze 2: Připojení a oprávnění — 5 minut
- 4Fáze 3: Mapování účetní osnovy — 20 minut
- 5Fáze 4: Doplnění historických dat — 5 minut na spuštění
- 6Fáze 5: První kontrola vyrovnání — 15 minut
- 7Kontrolní seznam pro předání
- 8Váš druhý klient zabere 25 minut
- 9Spusťte prvního s námi
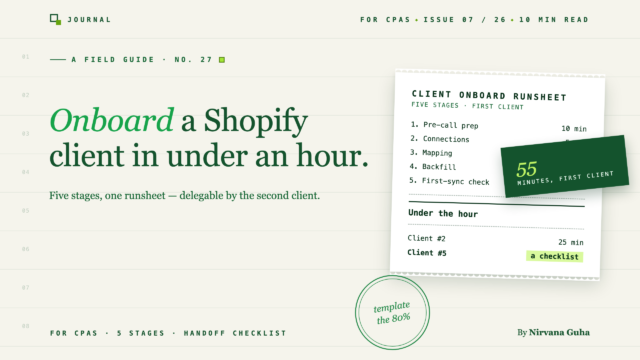
Rozdíly mezi klienty Shopify jsou menší, než si myslíte — a každá jejich část může být šablonovitá. Toto je pětistupňový proces s uvedenými časy.
Hovor k přijetí klienta je ve 14:00. Vyhradili jste si celé odpoledne — protože ten poslední zabral celé odpoledne a měl trvat hodinu.
Pokud jste již přijali několik klientů Shopify, zažili jste nějakou jeho verzi. Přestavěli jste polovinu účetní osnovy živě během hovoru. Čekali jste dvacet minut na požadavek spolupracovníka Shopify, který nikdy nebyl odeslán. Uprostřed hovoru jste zjistili, že „QuickBooks“ znamená Desktop. Každé zapojení působilo jako začátek od nuly, na čas klienta, přičemž jste viditelně zjišťovali, jak na to.
Závěr, ke kterému většina firem dospěje, je nákladný: každý e-commerce klient je jedinečný — nemůžete standardizovat přijetí. To je lež. Rozdíly mezi klienty Shopify jsou téměř výhradně dvě věci — mapování účetní osnovy a časové období historických dat. Obě lze šablonovat. Zbývajících 80 % práce je identických u každého klienta, kterého kdy přijmete.
Tento průvodce je těch 80 % napsaných: jak přijmout klienta Shopify do QuickBooks v pěti fázích, 55 minut práce, dostatečně opakovatelné, abyste to mohli předat mladším zaměstnancům po třetím klientovi.
Proč přijetí klienta Shopify trvá déle, než by mělo
Přijímání klientů se nezhroutí, protože je práce těžká. Zhroutí se, protože rozhodnutí a požadavky na přístup, které měly být provedeny před hovorem, se dějí během něj.
Zamyslete se nad tím, co spotřebovalo čas u vašeho nejhoršího přijetí. Čekání na přihlašovací údaje. Debatování, který účet by měl držet poplatky obchodníka, zatímco klient sledoval. Nic z toho není účetní obtížnost — je to selhání sekvencování.
Řešení je strukturální: rozdělte zapojení do fází, umístěte každé rozhodnutí do co nejranější fáze a nikdy nezačínejte navazující fázi, dokud není předchozí fáze odškrtnutá. To je celá metoda. Uvedené časy jsou reálné, jakmile vstupy dorazí včas: 10 + 5 + 20 + 5 + 15 — 55 minut.
Jedna upřímná výhrada: tento časový limit předpokládá, že stávající soubor QuickBooks klienta je použitelný. Pokud obsahuje měsíce dvojitě započítaných příjmů nebo zúčtovací účet, který nikdy nebyl vynulován, jedná se o jiné zapojení — naplánujte si ho samostatně pomocí průvodce vyčištěním, opravte soubor a pak se sem vraťte. Přijetí na poškozený soubor pouze automatizuje nepořádek.
Fáze 1: Příprava před hovorem — 10 minut
Všechno v této fázi je e-mail, který odešlete týden předem. Co sbíráte:
- URL obchodu Shopify a přístup do administrace. Připojení musí být autorizováno někým s přístupem na úrovni administrátora nebo vlastníka obchodu. Klient buď autorizuje během hovoru, nebo předem udělí vaší firmě přístup spolupracovníka. Před hovorem si ověřte, co platí.
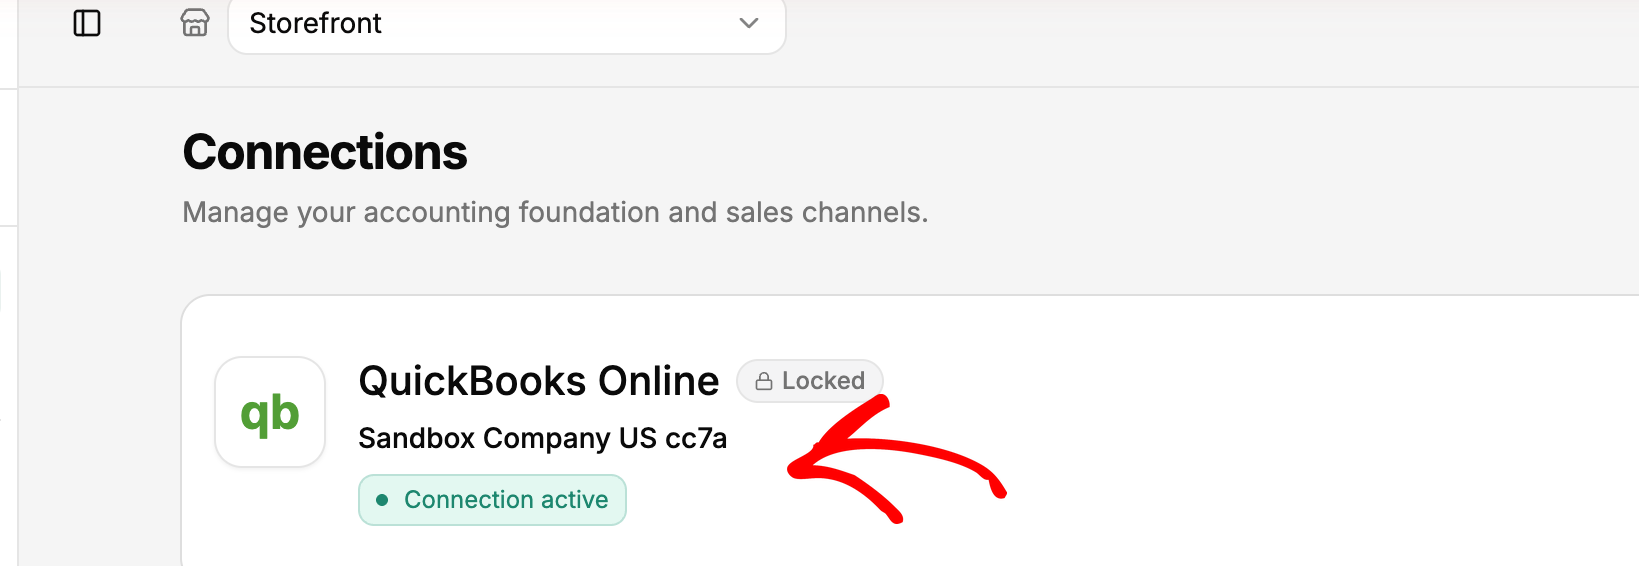
- Přístup k QuickBooks Online – a potvrzení, že jde o Online verzi. Desktopová verze není podporována a zjišťovat to za běhu je klasický problém při onboardingu. Nechte klienta, aby vaší firmě poslal pozvánku pro účetního na váš přihlašovací údaj, a potvrďte, do které společnosti QuickBooks by se měl obchod synchronizovat – v LedgerPortu, jakmile je pro firmu vytvořeno účetní připojení, nelze jej později změnit. Toto rozhodnutí je pro soubor klienta konečné.
- Historické období pro zpětné doplnění. Jak daleko zpět je třeba přepočítat účetnictví z dat Shopify? Zeptejte se na datum – „od 1. ledna“ je lepší než „někdy v minulosti“. LedgerPortův Time Machine importuje až 24 měsíců historických dat objednávek, takže cokoliv do dvou let je nástroj, nikoliv ruční zadávání dat.
Zatímco čekáte na odpovědi, připravte artefakt, který zrychlí 3. fázi: standardní účtovou osnovu vašeho podniku pro e-commerce. Mapování přiřazuje data Shopify k existujícím účtům QuickBooks – nevytváří je. Pokud v účtové osnově klienta chybí zúčtovací účet nebo účet pro poplatky, přidejte je do QuickBooks před hovorem. (Ještě nemáte standardní osnovu? Vytvořte si ji jednou z této šablony a používejte ji pro všechny klienty.)
Fáze 2: Připojení a oprávnění — 5 minut
Dvě připojení, obě z jedné stránky, obě autorizovaná přes OAuth – klient schvaluje přístup přímo v QuickBooks a Shopify a žádná hesla nejsou nikdy sdílena s nástrojem ani s vaší firmou. To je odpověď, když se klient zeptá, proč je požadavek na přístup bezpečný, a stojí za to to během hovoru zmínit.
V LedgerPortu je pořadí následující: vytvořte firmu klienta (jedna firma = jeden obchod Shopify spárovaný s jednou společností QuickBooks), poté v postranním panelu otevřete Připojení.
Nejprve připojte QuickBooks: klikněte na Připojit QuickBooks, přihlaste se, vyberte společnost, autorizujte. Okamžik, který si zaslouží dvojitou kontrolu, je výběr společnosti – potvrďte, že jde o správný soubor QuickBooks před kliknutím na Autorizovat, protože jej nelze později změnit.
Poté obchod: klikněte na Připojit obchod Shopify, zadejte URL obchodu (client-store.myshopify.com) a klient klikne na Nainstalovat aplikaci na straně Shopify. Pokud klient nainstaloval LedgerPort z obchodu s aplikacemi Shopify, obchod je již připojen a tento krok zmizí.
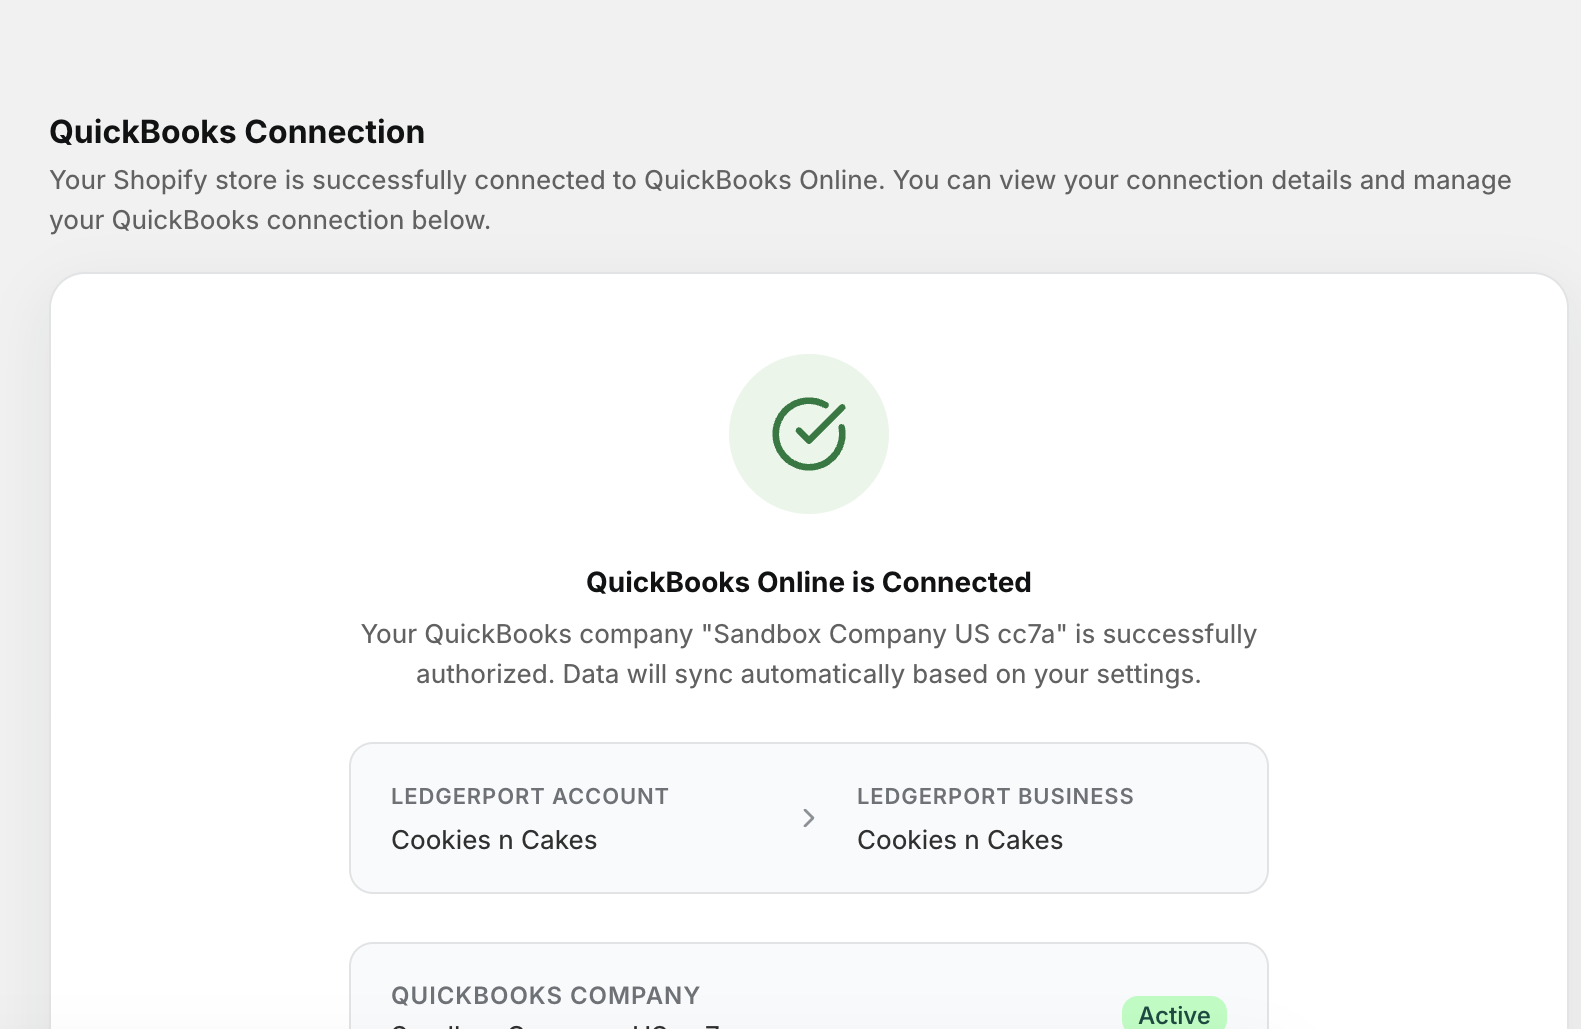
Poté se na ovládacím panelu zobrazí seznam úkolů pro nastavení se třemi položkami – Připojte svůj obchod, Připojte QuickBooks, Povolte automatickou synchronizaci. Automatickou synchronizaci zatím nechte vypnutou. Chcete, aby historické doplnění dat a první ověření proběhly předtím, než se cokoli samo zsynchronizuje; povolení automatické synchronizace je poslední zaškrtávací políčko, které zaškrtnete ve fázi 5.
Fáze 3: Mapování účetní osnovy — 20 minut
Toto je fáze, která se mezi klienty liší, což z ní činí fázi, kterou je nejtěžší šablonovat. Rozhodnutí o mapování, na kterých skutečně záleží, je pět: kam jdou poplatky, kam jdou refundace, kam jdou dárkové karty, kam jde daň z prodeje a kam jde doprava. Vše ostatní jsou podrobnosti na úrovni produktu, které řeší nástroje.
Zde je standardní mapování, které platí pro většinu klientů Shopify:
| Prvek Shopify | Účet QuickBooks | Typ účtu |
|---|---|---|
| Prodeje produktů | Tržby z prodeje | Příjem |
| Doprava účtovaná zákazníkům | Příjem z dopravy | Příjem |
| Slevy | Poskytnuté slevy | Příjem (kontra) |
| Vrácení peněz | Vrátky a slevy | Příjem (kontra) |
| Vybraná daň z prodeje | Daň z obratu k úhradě | Jiné krátkodobé závazky |
| Prodáné dárkové karty | Závazek z dárkových karet | Jiné krátkodobé závazky |
| Poplatky za platby Shopify / bránu | Poplatky za zpracování obchodníkem | Náklady |
| Vyrovnání plateb | Vyklízení Shopify | Jiná oběžná aktiva |
Dva z těchto řádků jsou místa, kde se soubory pro nové e-commerce vždy pokazí, takže je stanovte jako zásadu: prodané dárkové karty jsou závazek, nikoli výnos – výnos nastává při uplatnění. A refundace žijí v proti-výnosech, nikdy nejsou započítány do prodejů, takže skutečná míra vrácení zboží klienta zůstává viditelná.
Mechanicky mapování probíhá rychle díky dvěma funkcím. Automatické mapování porovnává produkty Shopify klienta s jeho položkami QuickBooks a propojuje je všude tam, kde se shodují SKÚ nebo názvy – jedno kliknutí zvládne většinu katalogu a vy zkontrolujete a přepíšete, místo abyste budovali od nuly. Cokoli zbude, zobrazí se jako Namapováno; přiřaďte je ručně z rozbalovací nabídky, filtrované pouze na nenamapované.
Pro firmy je multiplikátorem Hlavní šablona: partnerský program CPA společnosti LedgerPort podporuje aplikaci standardní konfigurace účetní osnovy napříč více klienty – 20 minut, které jste právě strávili u klienta jedna, se stává výchozím bodem pro klienta dva, nikoli přestavbou.
Jedno rozhodnutí, které je třeba učinit záměrně: zpracování nenamapovaných položek. Můžete nastavit záložní položku, takže objednávky obsahující produkt, který jste nenamapovali, se stále synchronizují místo selhání. To je odolnost za cenu reportování na úrovni produktu – rozumné pro klienta s tisícem nízko-hodnotových SKÚ, nesprávné pro toho, kdo chce marži na úrovni produktu. Rozhodněte se pro každého klienta, záměrně. (Kompletní mechanika: mapování produktů a mapování účtů.)
Fáze 4: Doplnění historických dat — 5 minut na spuštění
Po nastavení mapování odešlete historii. Stránka Ruční synchronizace (s názvem Odeslat do QuickBooks) zobrazuje produkty, zákazníky, objednávky a platby klienta se stavem synchronizace na řádek; vyberte dohodnuté historické okno a odešlete, nebo odešlete vše. Time Machine pokrývá až 24 měsíců zpět – proto se ve fázi 1 ptalo na datum.
Odesílání probíhá na pozadí, zatímco modální okno s průběhem zobrazuje přistání nebo selhání každého záznamu. Pět minut vašeho času na spuštění; dokončení v reálném čase se liší podle objemu – toto je přirozená přestávka na kávu během onboardingového hovoru.
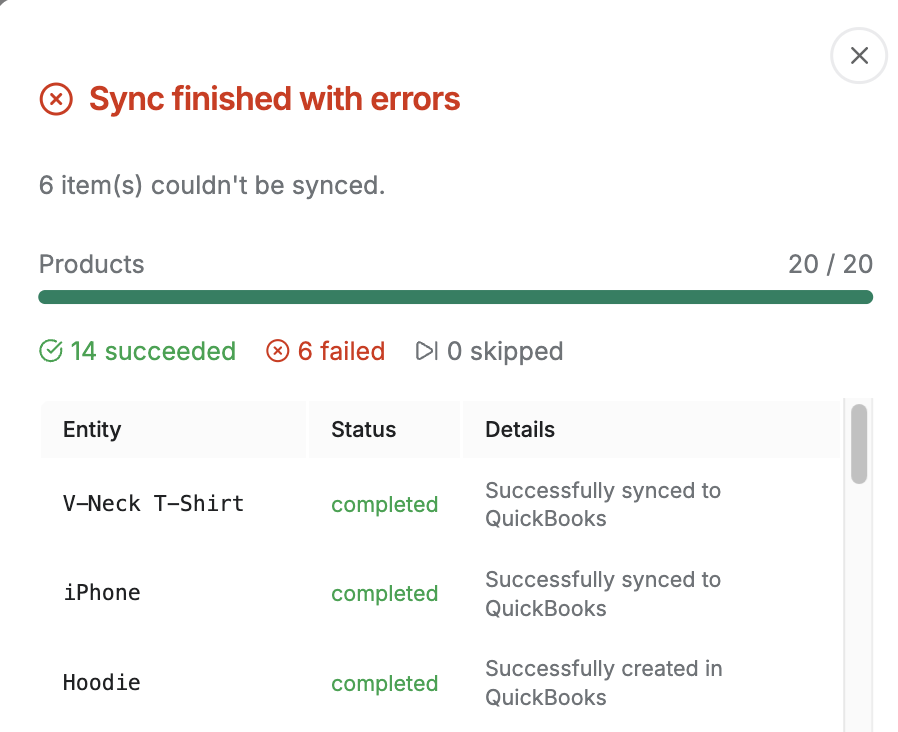
Dvě věci, které je třeba vědět, zatímco to běží. Zaprvé, záruka proti duplicitám: záznamy se stavem Synchronizováno jsou při jakémkoli opětovném nahrání přeskočeny a neúspěšné záznamy se opakují, místo aby se duplikovaly — opětovné nahrání po opravě mapování je vždy bezpečné. Zadruhé, na co si dát pozor: jakákoli objednávka obsahující entitu, kterou jste nemapovali, zaznamená chybu a nepostuje do QuickBooks. To je správné chování — zadržená objednávka je opravitelná, špatně zadaná je čištění — a to je to, co kontroluje fáze 5.
Fáze 5: První kontrola vyrovnání — 15 minut
Nikdy neoznačujte klienta jako „živého“ na základě „synchronizace proběhla“. Označte je jako „živé“ na základě „výstup ověřen“. Dvě kontroly, v tomto pořadí.
Kontrola jedna: auditní protokol. Každý pokus o synchronizaci zapíše záznam do protokolu se stavem — Synchronizováno, Chyba, Čeká se nebo Pozastaveno. Otevřete Auditní protokol a filtrujte Stav na Chyba: to je kompletní seznam všeho, co vyžaduje pozornost, a prázdný seznam je to, jak vypadá čistý stav. Rozbalte jakýkoli řádek chyby a sloupec podrobností vám řekne, co selhalo. Dvě, které uvidíte při první synchronizaci, jsou Produkt není namapován (vraťte se do Mapování, namapujte jej) a Zákazník nenalezen v QuickBooks — a druhý má jediné nastavení: pokud klient nepotřebuje sledování podle zákazníka, přepněte strategii zákazníka na Obecný, aby všichni nespárovaní zákazníci byli směrováni k jednomu zákazníkovi QuickBooks.
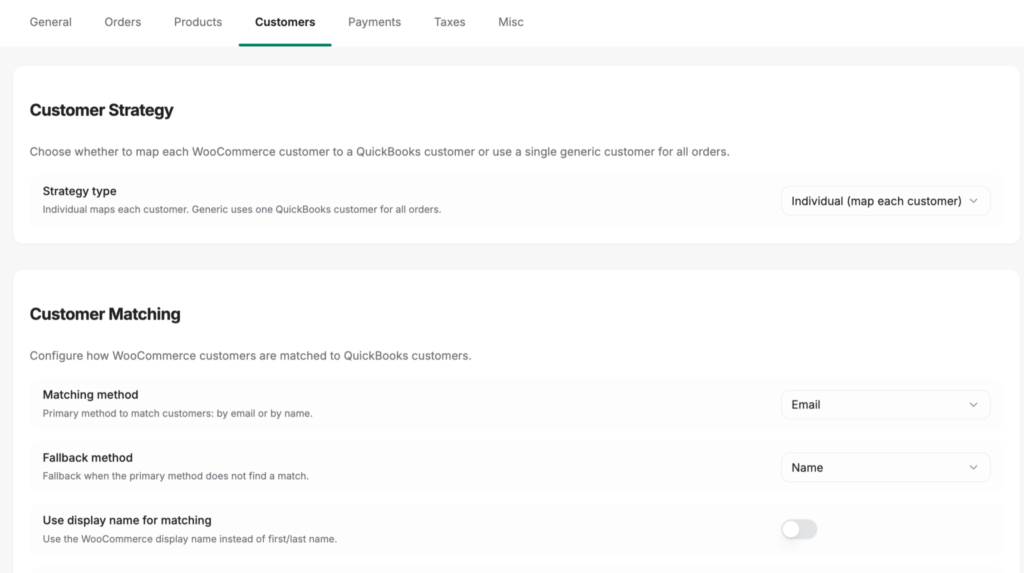
Po jakékoli opravě znovu nahrajte dotčené záznamy z Manuální synchronizace, znovu filtrujte na Chybu a potvrďte, že seznam je prázdný. (Čtení a filtrování auditního protokolu pokrývá všechny filtry.)
Kontrola dva: sledujte jeden výplatní cyklus od začátku do konce. Vyberte nedávnou výplatu ze Shopify a sledujte ji přes QuickBooks: hrubé tržby, poplatky na účet výdajů, vrácení peněz na proti-výnosy a čistá částka, která se přesně shoduje s bankovním vkladem, přičemž zúčtovací účet se v rámci cyklu nuluje. Jedna výplata, která se zcela shoduje, dokazuje mapování, oddělení poplatků a zúčtovací tok v jediném sledování. (Proč se výplaty a vklady liší — a jak je automatizovaná metoda udržuje spojené — je popsáno v průvodci vyrovnáním výplat.)
Obě kontroly jsou v pořádku? Povolte automatickou synchronizaci — třetí zaškrtávací políčko na kontrolním seznamu nastavení — a klient od této chvíle běží sám.
Kontrolní seznam pro předání
Zaměstnanec, který provedl onboarding, předává toto partnerovi. Každé zaškrtnuté políčko znamená, že klient je označen jako živý; jakékoli nezaškrtnuté políčko znamená, že zakázka není dokončena, bez ohledu na to, jak hladce hovor probíhal.
- QuickBooks Online a Shopify oba zobrazují Připojeno na stránce Připojení
- Potvrzená společnost QuickBooks před autorizací (později ji nelze změnit)
- Mapování účtové osnovy odpovídá standardní šabloně firmy; odchylky zdokumentovány
- Poplatky, refundace, dárkové karty, daň z prodeje a doprava namapovány podle tabulky výše
- Zpracování ne namapovaných položek rozhodnuto záměrně (záložní možnost zapnuta nebo vypnuta) a zaznamenáno
- Historické období posunuto na plný dohodnutý rozsah dat
- Protokol auditu filtrován na chyby, vráceno nula řádků
- Jedna platba sledována od začátku do konce: hrubá částka → poplatky → refundace → čistá částka = bankovní vklad, vyrovnáno na nulu
- Automatická synchronizace povolena
- Soubor klienta přidán pod účet firmy s přiřazenými rolemi personálu
Poslední pole je to, co umožňuje delegování. Protože každý klient je samostatná firma pod jedním přihlášením firmy, pracovník může celý proces spustit v souboru klienta, aniž by zasáhl do fakturace nebo konfigurace jiného klienta — což je bod, kdy onboarding přestává být prací partnera.
Váš druhý klient zabere 25 minut
Zde je to, co se stane, jakmile je to šablonováno. Druhý klient Shopify trvá asi 25 minut, protože předběžný e-mail je již napsán, standardní účet je již sestaven a hlavní šablona aplikuje vaše mapování místo toho, abyste jej znovu sestavovali. Pátý trvá 15 minut a pracovník jej provede, zatímco vy pracujete na něčem, co lze fakturovat.
To mění ekonomiku typu klienta. Firmy, které se vyhýbají zapojení do e-commerce, se nemýlí ohledně bolesti nestandardizovaného onboardingu — mýlí se v tom, že jej nelze standardizovat. Opakovatelný 55minutový onboarding je to, co dělá klienty e-commerce ziskovým segmentem místo ztrátového lídra, a co ospravedlňuje stanovení ceny za zapojení na základě hodnoty spíše než hodin za úklid.
Nástroje se škálují stejným způsobem: partnerský program je postaven přesně na tomto pracovním postupu — hierarchické řízení klientů z jednoho ovládacího panelu, hromadná fakturace na úrovni firmy, podíl na příjmech nebo slevový kód pro klienta (podle vašeho výběru) a prvotřídní onboarding, kde tým LedgerPort propojí klienta a synchronizuje první synchronizace s vámi.
Spusťte prvního s námi
Nyní máte pět fází, standardní tabulku mapování a kontrolní seznam předání — celých 55 minut na papíře. Nejrychlejší způsob, jak to uvést do praxe, je spustit to jednou s někým, kdo to udělal už pár stovekkrát.
Zarezervujte si onboardingový hovor pro CPA → a projdeme s vámi vašeho prvního klienta Shopify — připojení, mapování, zpětné načítání a sledování plateb — takže váš druhý bude skutečně trvat 25 minut.